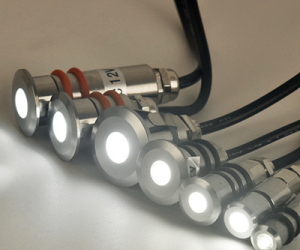
How to wire the lighting for your RV when you get it? No matter you choose to use strips or recessed lighting, the process for wiring for any 12v volt led lights system will be the same. Because LEDs draw so little power, you can usually string together as many LED’s as you want.
The first step before wiring everything is to make sure all of you power is off! There should be no fuse in the location you will be using. Only put the fuse in at the end of the process or if you need to check to make sure the lights work before more permanently mounting them.
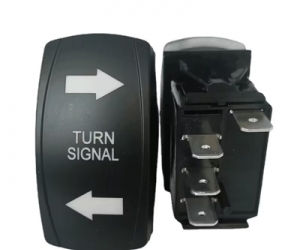
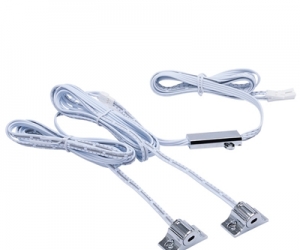
Wire Multiple Strips Of Lights Together. Start by wiring all strips or strings of lights together. Lights will have a pair of red and black wires coming from them. Because everything is already 12V, you want to wire them in parallel. This means that all of the red wires will be connected together to run to the switch. All of the black wires will be connected together to run to the bus bar.
If you want to go all out, then you can use soldering kit to connect wires. If not, you can twist the wires together an connect them with a butt splice or at a location where a terminal connector will be used.
Here some general tips for you:
- Use stranded wire. Solid copper household wire isn’t meant to handle the vibrations. tight spaces and metal rubbing in a van.
- Don’t use twist connectors for joining wires. This is for the same reason as above.
- Test your equipment before installing it (switches and lights). It’s much easier to diagnose and repair issues when they’re right in front of you.
- When running wire, run a little bit extra (6” or so). This is so that if you make a mistake splicing or need a little wiggle room you’ve got some spare real estate.
- Stagger your splicing if you have multiple wires running together. This avoids a big lump of connectors in one spot.
-
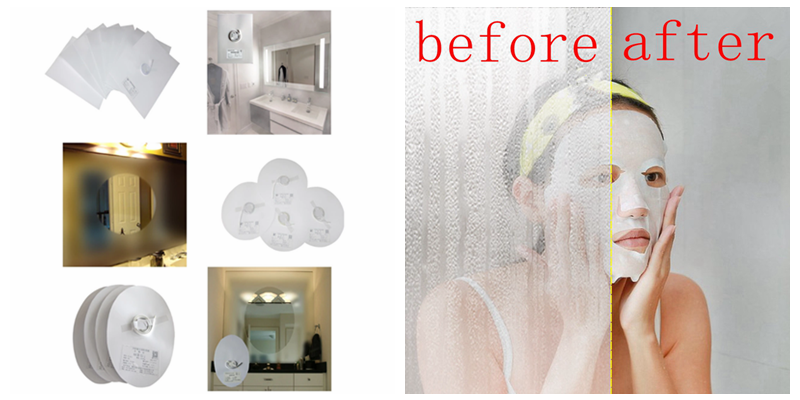 How to Install Heat Pad on Mirror?
Do you like ?0
Read more -
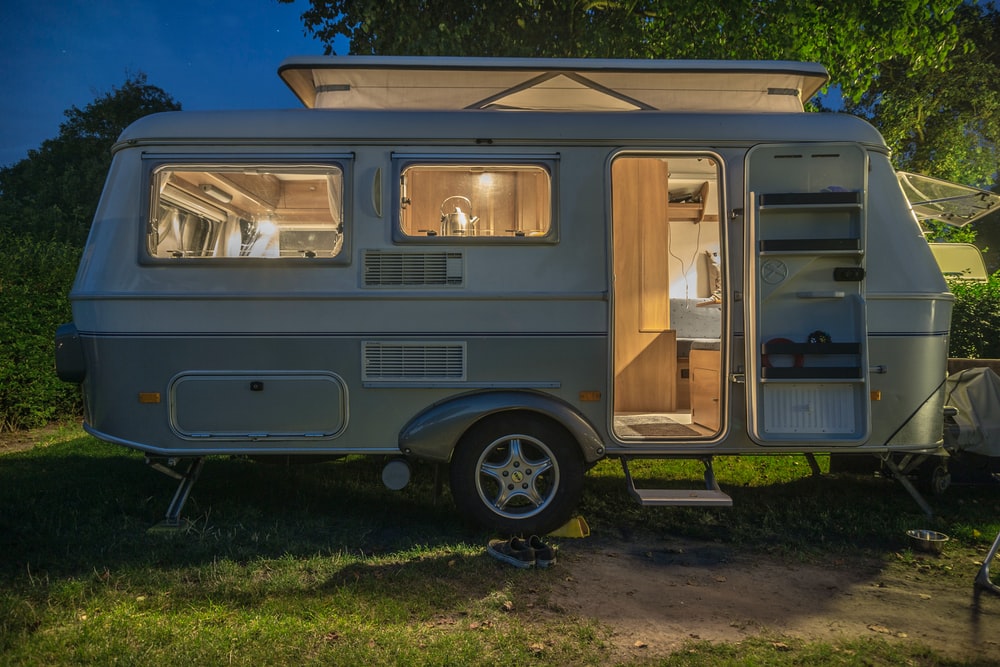
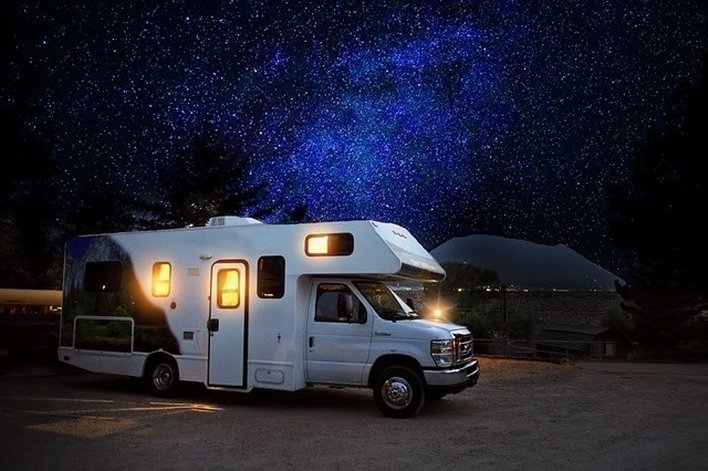 Why LED Lights are Perfect for RVs & Boats?
Do you like ?0
Read more -
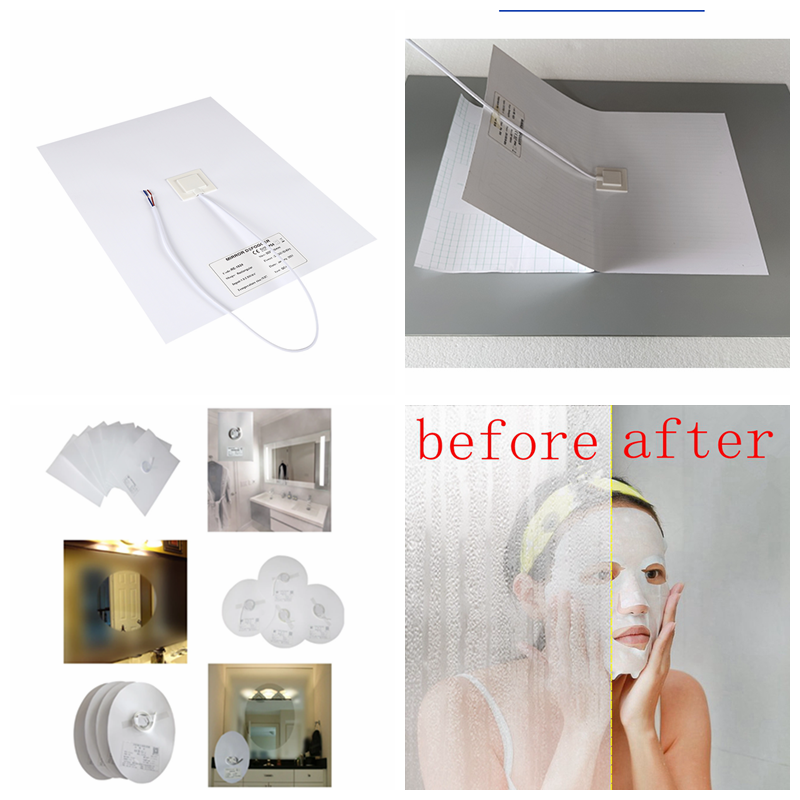 How Good Anti-fog Film for Mirror!
Do you like ?0
Read more -
 How do you choose which lights to buy for your RV’s interior?
Do you like ?0
Read more -
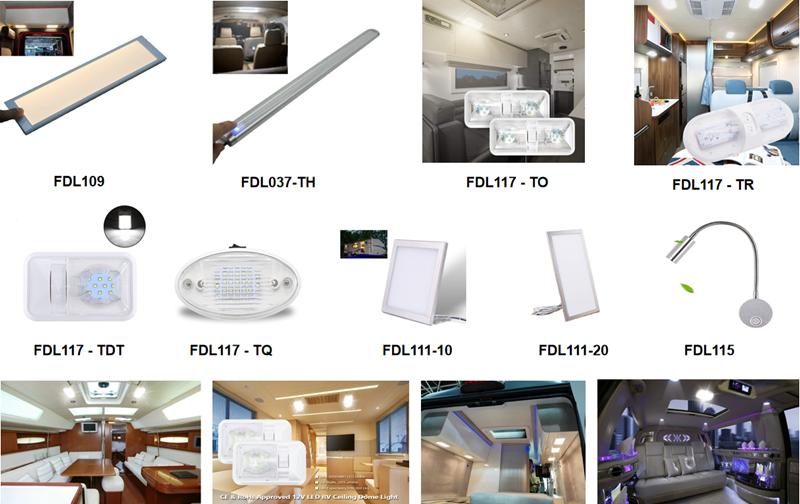 What Are the Most Common Interior Lights Used by RV Manufacturers?
Do you like ?0
Read more -
 Do You Know The Great Uses for Puck Lights?
Do you like ?0
Read more