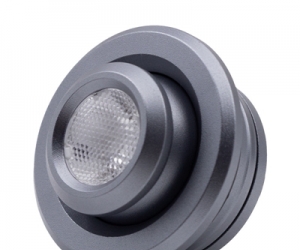
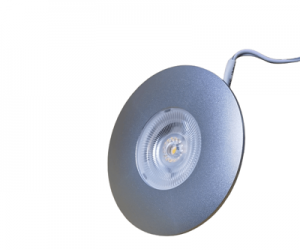
1. Pick Your Puck lights
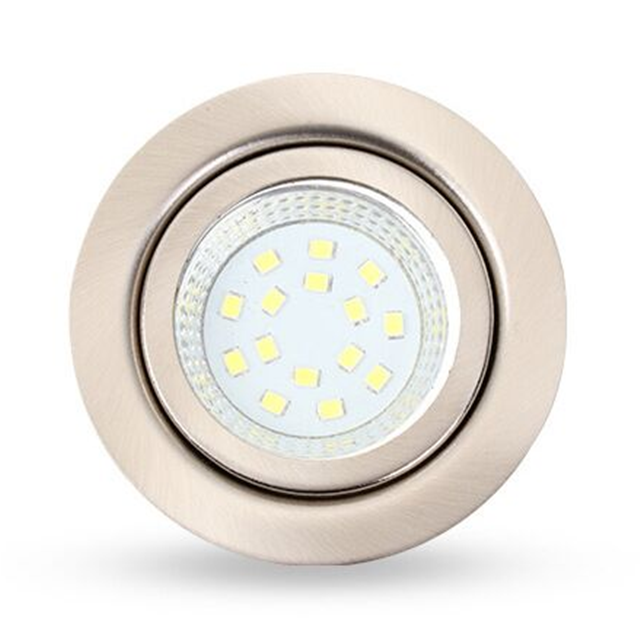
Find the most you like. Do you prefer plug-in, hard-wire, or battery operated lights? LED, xenon, or fluorescent? Low voltage or line voltage? What color temperature works best with your decor?
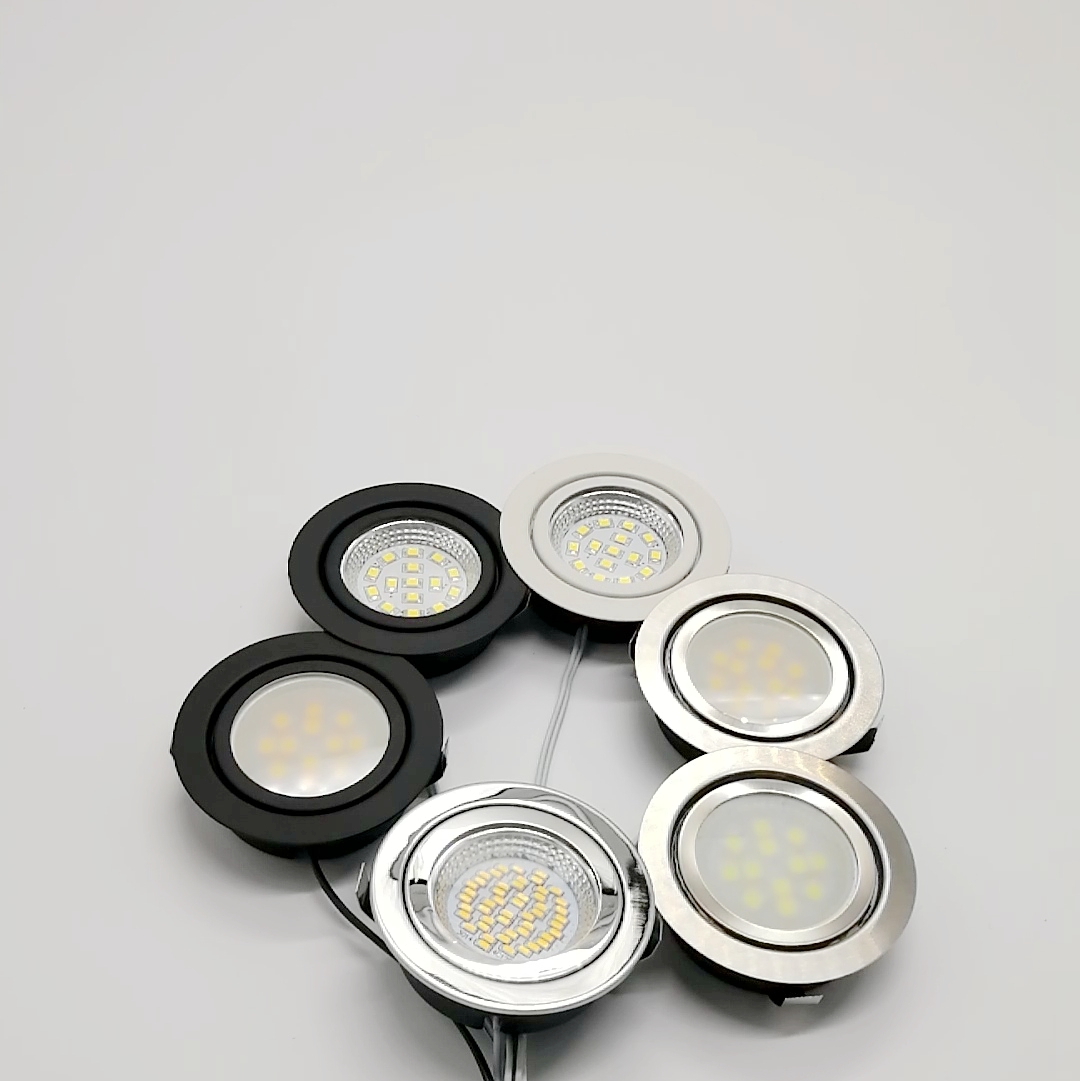
2. Decide How Many Puck Lights You'll Need
This will depend on how you want to use them. For even under cabinet lighting or bookshelf lighting, use one light for every 6-10 inches of space. For display lighting, position one light above every item you wish to showcase.
3. Determine How To Place Your Lights
For even lighting, follow the 6-10 inch rule. We recommend you install the lights closer to the front of the cabinets or shelves. This will provide the brightest illumination, especially important for task lighting. For accent lighting, the placement is more arbitrary. What makes your display look best?
4. Test Them Out
Before you whip out the power tools, test out your placement by taping the puck lights in place. You can even turn them on to see how the final lighting scheme will appear. Make adjustments as you see fit. When you're happy with what you see, take a pencil and trace each light.
5. Grab The Tools
Once traced, take down your puck lights. Double-check the dimensions of your tracings with the recommended diameter and depth from the manufacturer. (Usually the depth is about 1/2in give or take). Then, use a hole saw to drill into the bottom of your cabinets or shelves.
6. Attach
Permanently fasten the puck lights in their holes with mounting clips or screws.
7. Wire (If Necessary)
If your lights aren't battery operated, they will plug into each other so you can operate them with one plug or light switch. For lights that require a driver or transformer, make sure the one you're using has an appropriate wattage rating. It should be able to accommodate a wattage equal to or slightly higher than the combined total wattage of your lights. To hide the wires, you can install a valance (a matching 1-2 inch strip attached as a lip at the bottom of your cabinets), or simply staple the wires to the bottom of the cabinet. Just be careful not to damage them.
8. Enjoy!
The easiest step for sure.

