Preparing to Install
First things first, if you go for a strip system or a light bar with built-in LEDs, there is no need for a fixed electrical connection. They run off a 24-volt power source, so all you need is a power supply.
Plug into an appropriately placed outlet and away you go.
If your kitchen is quite small, a couple of flush mount under-cabinet light bars may be all you need. For a larger kitchen though, it’s good to plan to wire your LED tape lighting through a terminal.
This will let you have a fully connected system out of one outlet, and allow for the addition of a wireless dimmer and switch. If possible, choose an outlet that is normally out of sight, such as above top units.
Think about exactly where your lights are going to go, and measure accurately how much strip lighting you need to buy.
If you’re not sure what LED lighting is right for your needs, check out our wide range by clicking here.
What to Buy
There are two main systems you can go for and both have slightly different requirements.
Light Bars
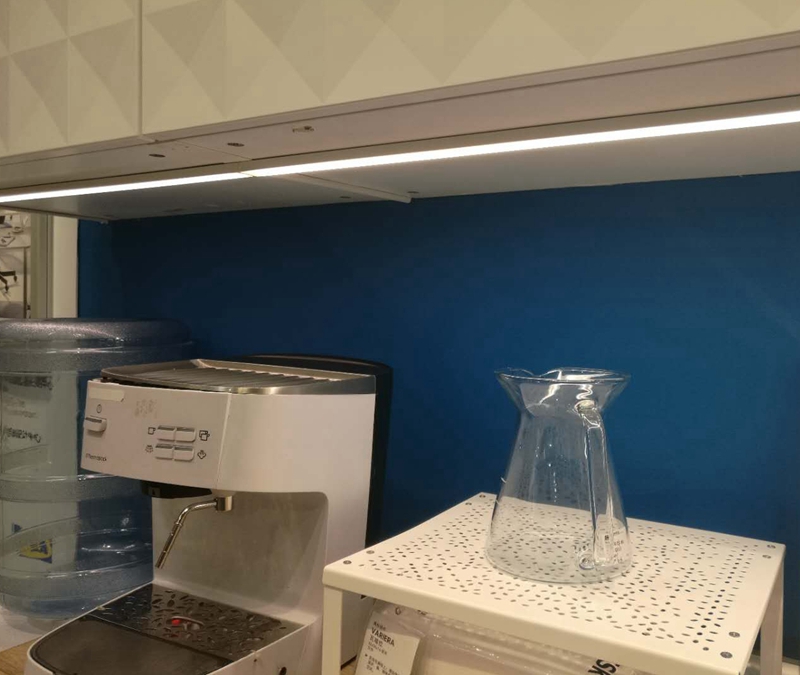
If you go for an under-cabinet light bar you will need a mounting kit, including mounting clips and screws. If you want to link several bars together in a row, make sure you have an end-to-end connector included in your kit.
LED Strip Lights
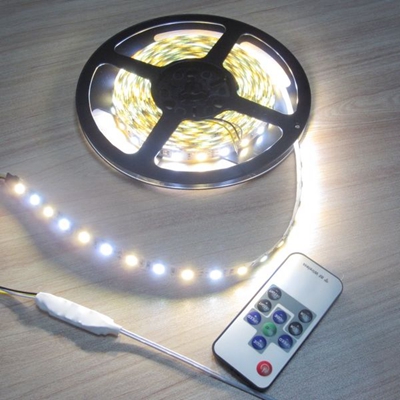
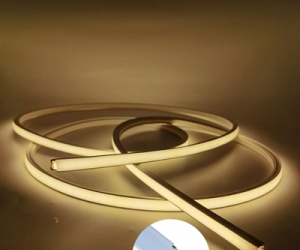
Simple to install, easy to cut to size, LED strip lights are a great way to install undercabinet lighting. As they are very shallow and come in narrow strips, they are totally unobtrusive.
You can even conceal them along the edge of your counter given sufficient clearance to the doors below. They also come in a wide range of colors too, giving your kitchen a personalized finish.
Mounting Your Light Bars
Mounting is made easy with the mounting kits supplied with light bars. They come in corner or flush mount options. Corner mount are hidden from view, whilst flush mount direct light directly down onto the surface.
To install undercabinet lighting using this system, simply work out how many you need to connect together. Add a 24-volt power supply and this can be simply connected to a safely located, preferably concealed, power outlet.
Installing LED Strip Lights
Before we go any further, make sure that you do not attempt any part of the actual installation whilst the light strip is connected to the power outlet.
For the installation you’ll need:
- A reel (or however much is needed) of LED strip lights
- Power Supply (check voltage needed with light supplier)
- Electrical tape
- Low voltage extension wire
- Strip-to-strip solderless connector
- Wire nuts
Step 1 – Testing the Gear
Miss this step and you’ll kick yourself later. Unwind the reel, hook up the lights to a power supply and check that they are all working properly. Also, make sure that they are exactly what you want in terms of color and brightness.
Step 2 – Trim to Fit
Carefully measure out exactly where you’ll put the lights and cut your lighting strips down to size.
Step 3 – Connect the Lengths
If you are planning to join two or more lengths of LED strips together, you’ll need to use one of three options – a snap connector, vampire connector or solderless connector. Here’s a detailed guide to using all three.
Step 4 – Preparing to Connect to Power
Once you have found the end of the strip that will connect to the power block, take some low voltage extension wire and strip the ends. Strip the ends of the wires coming from the light strips.
Carefully twist the two positive and two negative wires together, making a secure connection with wire nuts. Connect the low voltage wire to the power block.
If you’re thinking of installing a dimmer switch, now’s the time. Follow the manufacturer’s instructions, installing it between the power supply and the lighting strip. See below for why they are a great idea.
Once all connections are securely made, plug in and test that all lights are working properly before installing.
Step 5 – Position Your Strips
Now it’s set up and working, you’re ready to carefully remove the protective strip and secure them in place under the cabinets. Make sure the surface is totally clean, dry and lint-free.
Using the self-adhesive strip, make sure that they stick securely in place. Connect to the power supply and your LED installation is complete!
Consider a Dimmer
To really amp up the wow factor, consider adding a dimmer when you install undercabinet lighting. Sitting between your LED strip lights and your power supply, this will allow you full control of the mood you want to create.
Both wired and wireless dimmers are available, giving you full control and letting you choose an option that will look great in your kitchen.
Touch dimmer switches allow you to turn the lights on or off and dim them with just the tap of your finger.
Wiring them is simple, but make sure that you follow the directions on the installation guide that is supplied with the dimmer kit. Also, ensure all safety precautions are followed during installation.
-
 How to Install Heat Pad on Mirror?
Do you like ?0
Read more -
 Why LED Lights are Perfect for RVs & Boats?
Do you like ?0
Read more -
 How Good Anti-fog Film for Mirror!
Do you like ?0
Read more -
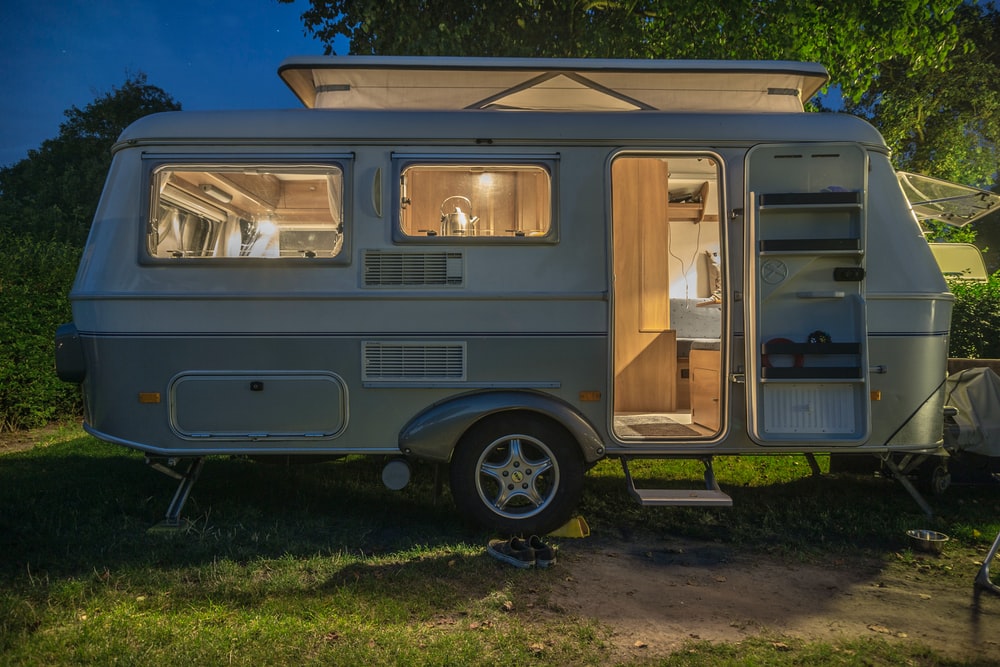 How do you choose which lights to buy for your RV’s interior?
Do you like ?0
Read more -
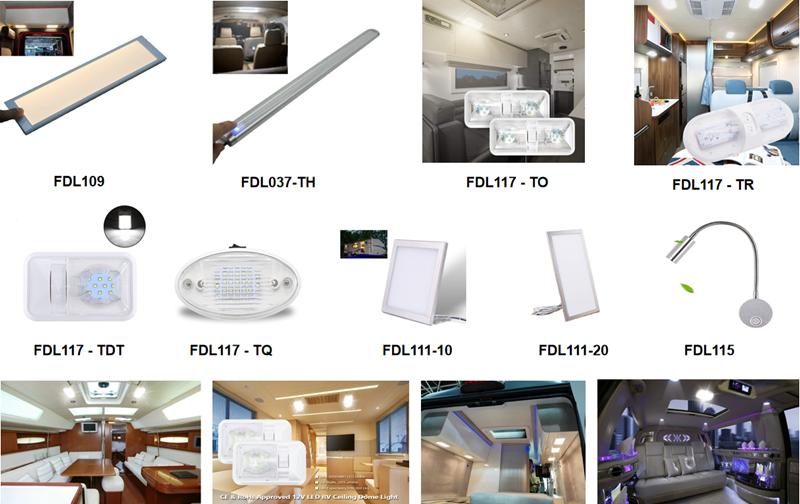 What Are the Most Common Interior Lights Used by RV Manufacturers?
Do you like ?0
Read more -
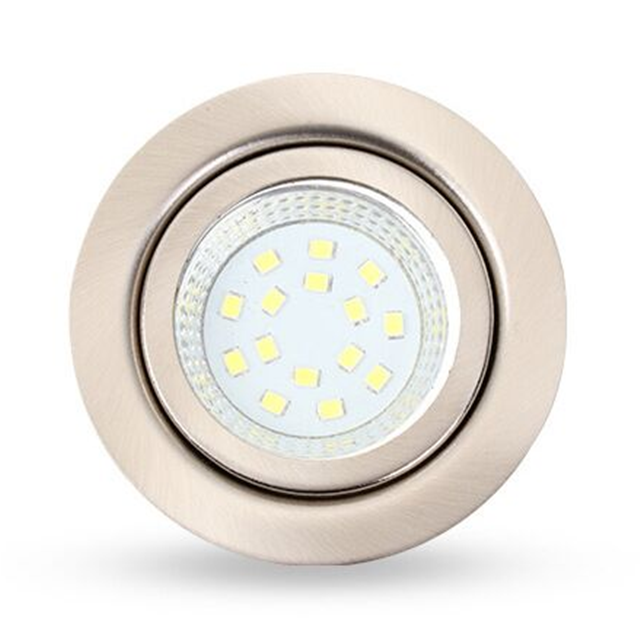 Do You Know The Great Uses for Puck Lights?
Do you like ?0
Read more

