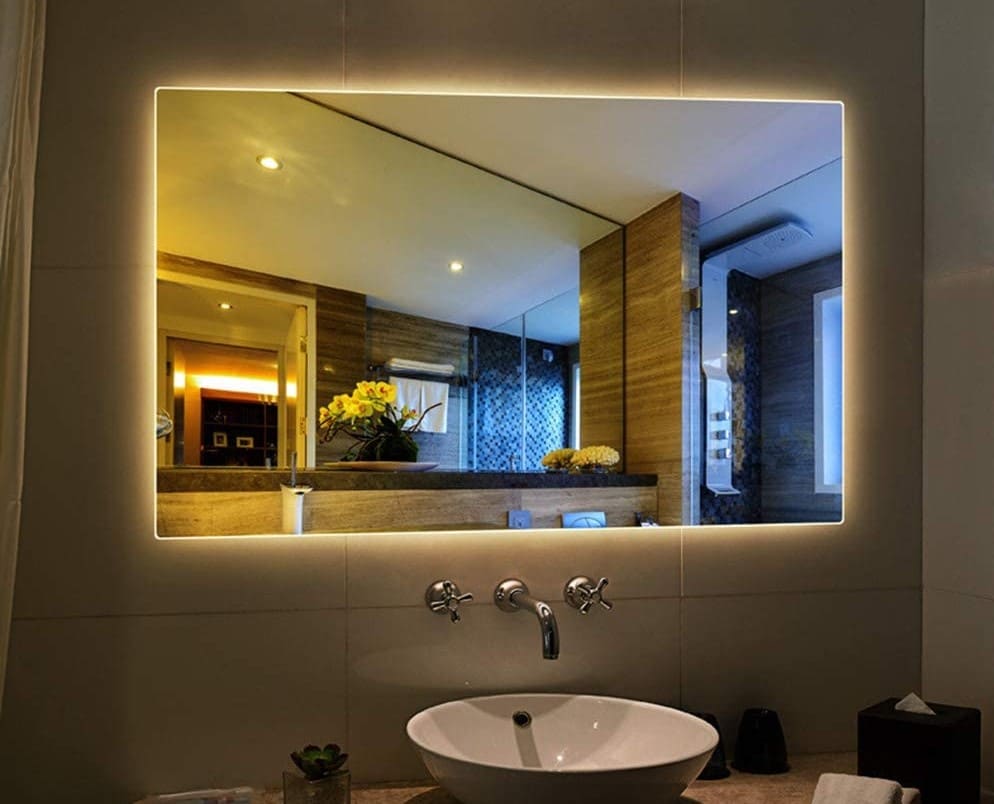
Placing an illuminated mirror with led light in your bathroom is not an easy task for anyone. Nevertheless, in this article, we made it simpler for you, so that you learn how to wire an illuminated bathroom mirror. Here are the steps to follow.
1. Prepare the installation
- Before you wire an illuminated bathroom mirror, the first step consists in drawing up an inventory of all the elements necessary for the installation of the illuminated mirror.
- Check that all the pieces are present by referring to your installation instructions.
- Then, secure the power line and check the level of voltage with a multimeter or voltage detector.
2. Installation of the wall brackets
Ideally, you should hide the connection box behind the mirror. Depending on the type you have, check if it is possible to hide this electrical box while keeping the correct position.
Most illuminated mirrors are fixed to the wall with brackets. Referring to your installation instructions, mark the wall to indicate the holes for the supports. Some manufacturers offer a drilling template. If this is the case for you as well, cut out the template and temporarily stick it to the wall with masking tape.
In the case of a tiled wall:
- Firstly, try to drill a hole in the grout between the tiles. Check with a spirit level that your markers are horizontal. Also, check (aligning with the tile or sink center) that the mirror will be centered according to the basin.
- Once you have checked everything, drill the wall (on tiles, do not use percussion drills).
- Then, remove the template if necessary. Insert your dowels and screw on the bracket(s). Check one last time the level before locking the clamps.
- Temporarily place your mirror on its supports to check the accuracy of your centering.
- Finally, check if the electrical box is well hidden and remove the mirror.
3. Electrical connection
At this stage, since you have already opened the electrical box to check for voltage failure, all conductors must be accessible. Depending on the type of lighting, you will have two or three wires to connect. If so, start by connecting the ground wire (green-yellow).
Note: In most cases, mirror lighting does not have a ground connector which is called “double insulation”.
- Continue with the neutral wire (blue) and end with the phase (red, black, or brown).
- Then, close the housing with a cable gland.
- If the mirror’s power cable is too long, you can tape it to the wall by making a wide loop.
- Also, make sure that this cable will not be powered up when the mirror is on its supports.
4. Mirror installation and testing
- Attach your mirror to its supports. Depending on the type you have bought, you might need to tighten with a screw driver (read the installation guide carefully).
- Make sure that the power cable is not powered up or pinched, and that it does not prevent the mirror from being placed against the wall.
- Finally, check the mirror’s level and centering. Turn on the power line and test the lighting on your mirror.
Now you know more about how to wire an illuminated bathroom mirror. Of course, some wiring work may need some variant. Hence, do not hesitate to share with us your comments about this topic.

