More often than not, the kitchen is the center of a home. Here we spend time to cook for and eat with our family or spend some time with a friend and a glass of wine.
One thing in the kitchen is essentially important (and often lacking): enough light to work, especially when you’re working with a knife or other sharp kitchen utensils. The right light makes a difference. That’s why we recommend under cabinet lighting for every kitchen. By installing additional lighting beneath an upper cabinet you can illuminate the counter surface below.
With these step-by-step instructions we’ll show you how to get more directed task lighting in your kitchen.
These are the different light moods we use in the kitchen:

1. Pick your lights
Most kitchens built in the past use fluorescent lighting. However, there are some downsides to fluorescent lights. They take a few seconds to reach full brightness, they tend to flicker and they produce a yellowish light.
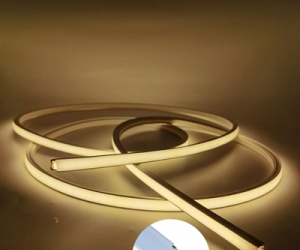
Today’s technology offers a more energy-efficient, long-lasting and brighter option: LED. The easiest way to get good under cabinet lighting for your kitchen is to use LED Strips (or often also referred to as ‘tape lights’).
Here are some reasons for using LED Strips:
- LED Strips are self sticking. So no drilling, no holes and no screws necessary. Perfect for an easy installation.
- LED Strips provide plenty of light. The flooded light offers an even illumination through the whole counter surface.
- You can choose between LED Strips with warm white lighting or colored lighting. Colors can be used to create stunning ambienr lightin, warm white light for task lighting.
- The LED Strip can be easily be divided with a pair of scissors to the desired length. Or even extended.
- In combination with a dimmer you’ll be able to dim the LED strips to your desired level.
We recommend you to use a RGBW LED Strip for your kitchen project.
2. Tools and products you need for under cabinet lighting
The most important thing, the light source, is defined: RGBW LED Strips. Additionally you’ll need the following tools:

Before you start with the installation, check where your next available power outlet is located. This will be the place for the Power Supply and the RGBW Dimmer and the starting point for your LED Strip.
3. Mount and install the LED Strip
The mounting is the LED Strip is easy. Measure how long the LED Strip should be and cut the Strip to the desired length. Then simply attach the self-sticking LED Strip to the bottom of the cabinet. Place it towards the front to get a perfect lighting result.
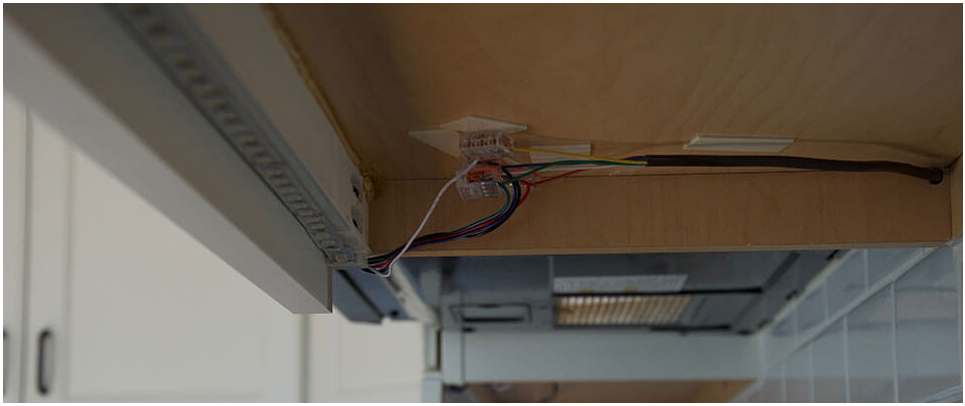
For the installation connect the LED Strip with the RGBW Dimmer and the Power Supply. We have placed the RGBW Dimmer and the Power Supply above our microwave to use the power outlet that was available there.
After the installation of the LED Strip you’ll download our free configuration softwareOur Smart Home Software offers a ‘Auto Configure’ feature, so you’re just one click away from your under cabinet lighting. And that’s it!
4. Define and control your personal color lighting
Install our free Loxone Smart Home App, on your smartphone or tablet to control your under cabinet lighting.
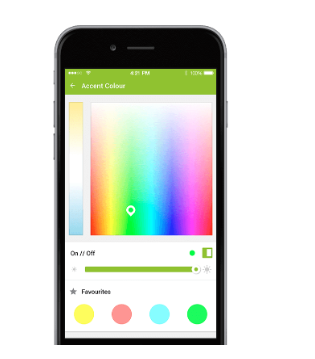
Define which colors you want to have: Blue, Pink, Yellow, Green, Purple, White,… it’s up to you!
You can also change the brightness of the LED Strip.
If you use other Loxone Lighting Products you can combine these with the LED Strip and create lighting scenes for cooking, dinner or a party. Just activate the lights you want to have in your lighting scene, choose the color of the LED Strip and click ‘Save Scene’ in the APP
-
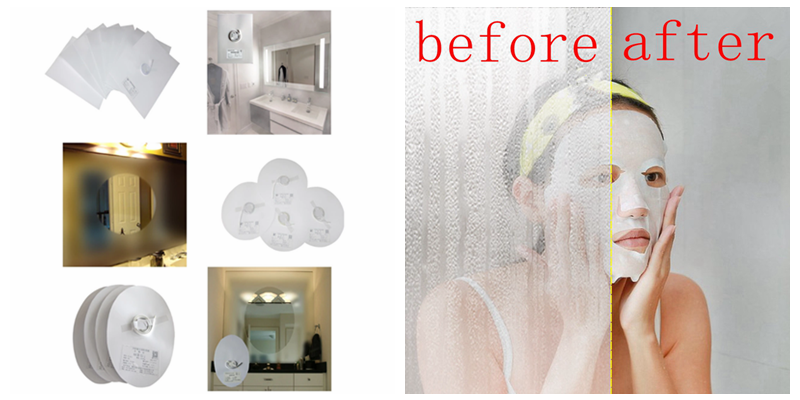 How to Install Heat Pad on Mirror?
Do you like ?0
Read more -
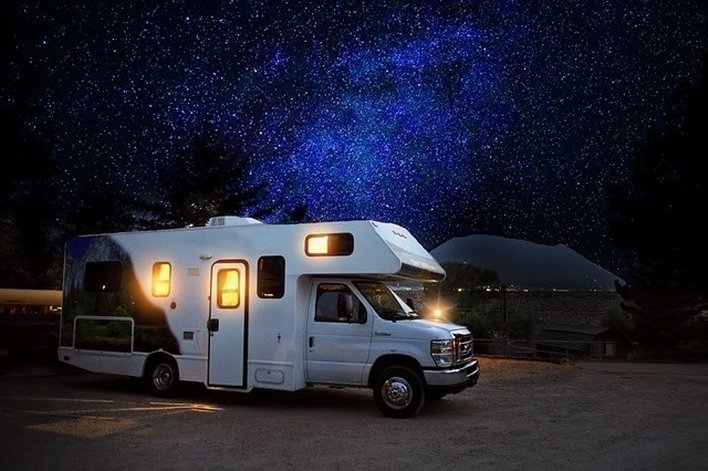 Why LED Lights are Perfect for RVs & Boats?
Do you like ?0
Read more -
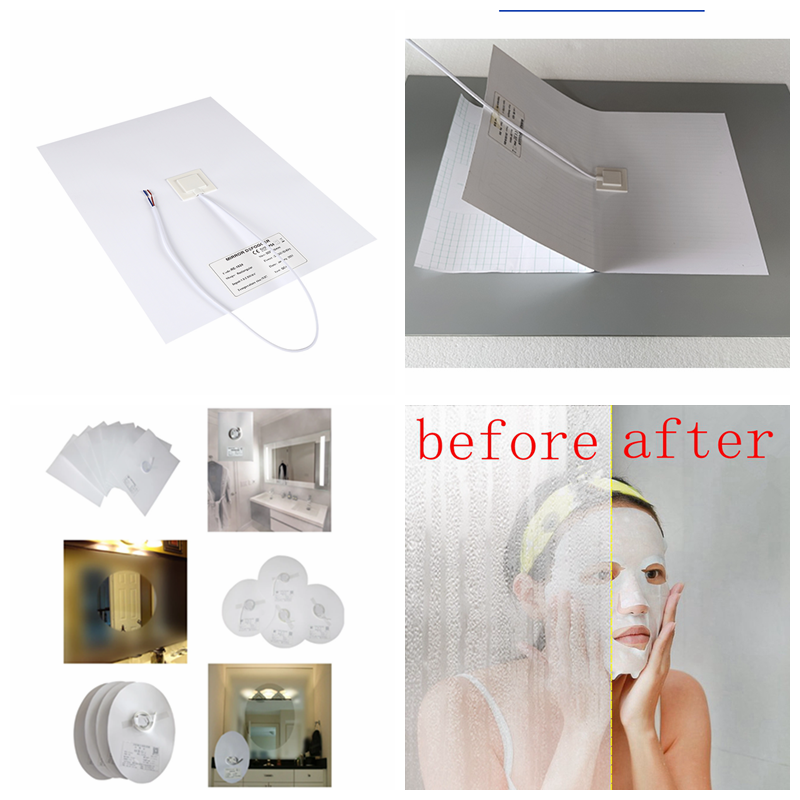 How Good Anti-fog Film for Mirror!
Do you like ?0
Read more -
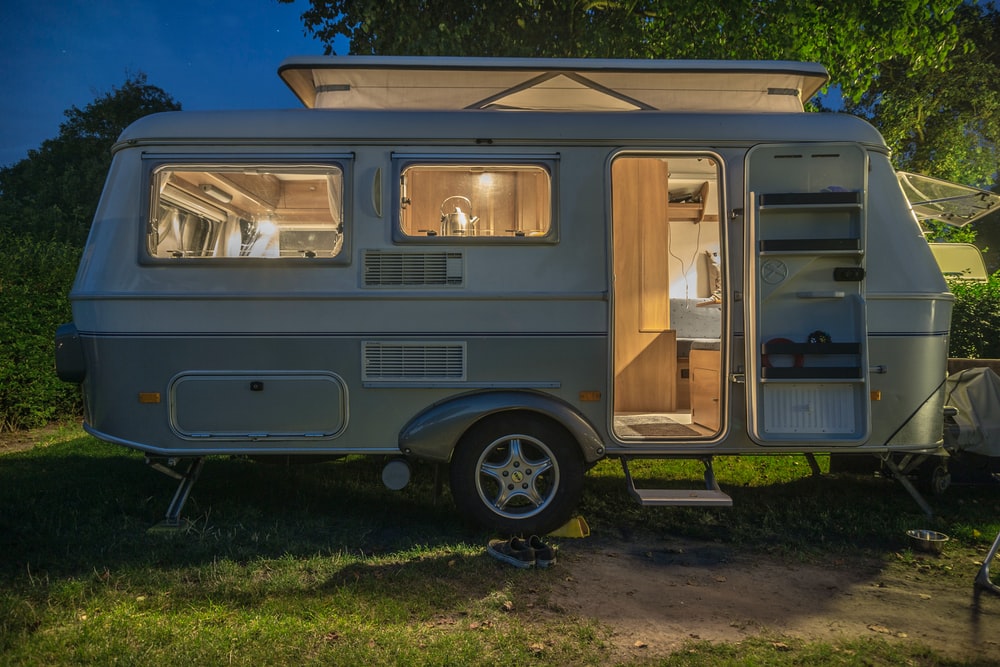 How do you choose which lights to buy for your RV’s interior?
Do you like ?0
Read more -
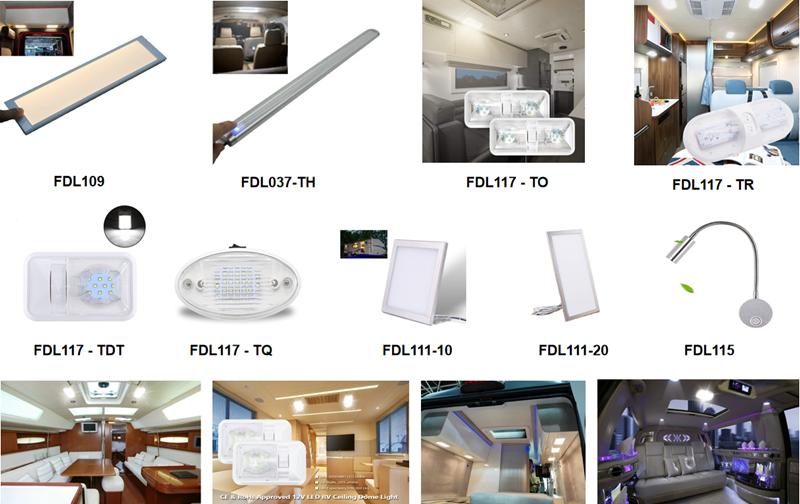 What Are the Most Common Interior Lights Used by RV Manufacturers?
Do you like ?0
Read more -
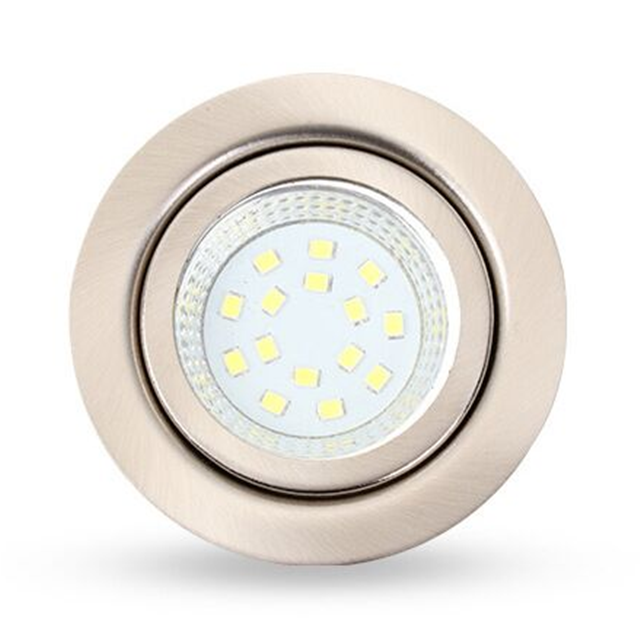 Do You Know The Great Uses for Puck Lights?
Do you like ?0
Read more

